MAKE YOUR OWN SCRATCH PAINTING OF A NORTHERN LIGHTS SKY WITH WAX CRAYONS
FASCINATING NATURAL PHENOMENON
IN THE NORTH OF CANADA
For the exhibition MAGNETIC NORTH. Canada by Night - The painters around the so-called Group of Seven expressed their fascination for the North, among other things, in depictions of the aurora borealis. The auroras, also known as the Northern Lights, are a fascinating natural phenomenon with countless legends surrounding them. There are countless legends about them. They were once seen as a luminous divine being watching over the well-being of its people, or as the spirits of the deceased playing ball with a walrus skull.
SOMETIMES THE POLAR LIGHTS DANCE, GLOWING GREEN, SOMETIMES THEY STRETCH ACROSS THE NIGHT SKY AS CURTAINS OF LIGHT
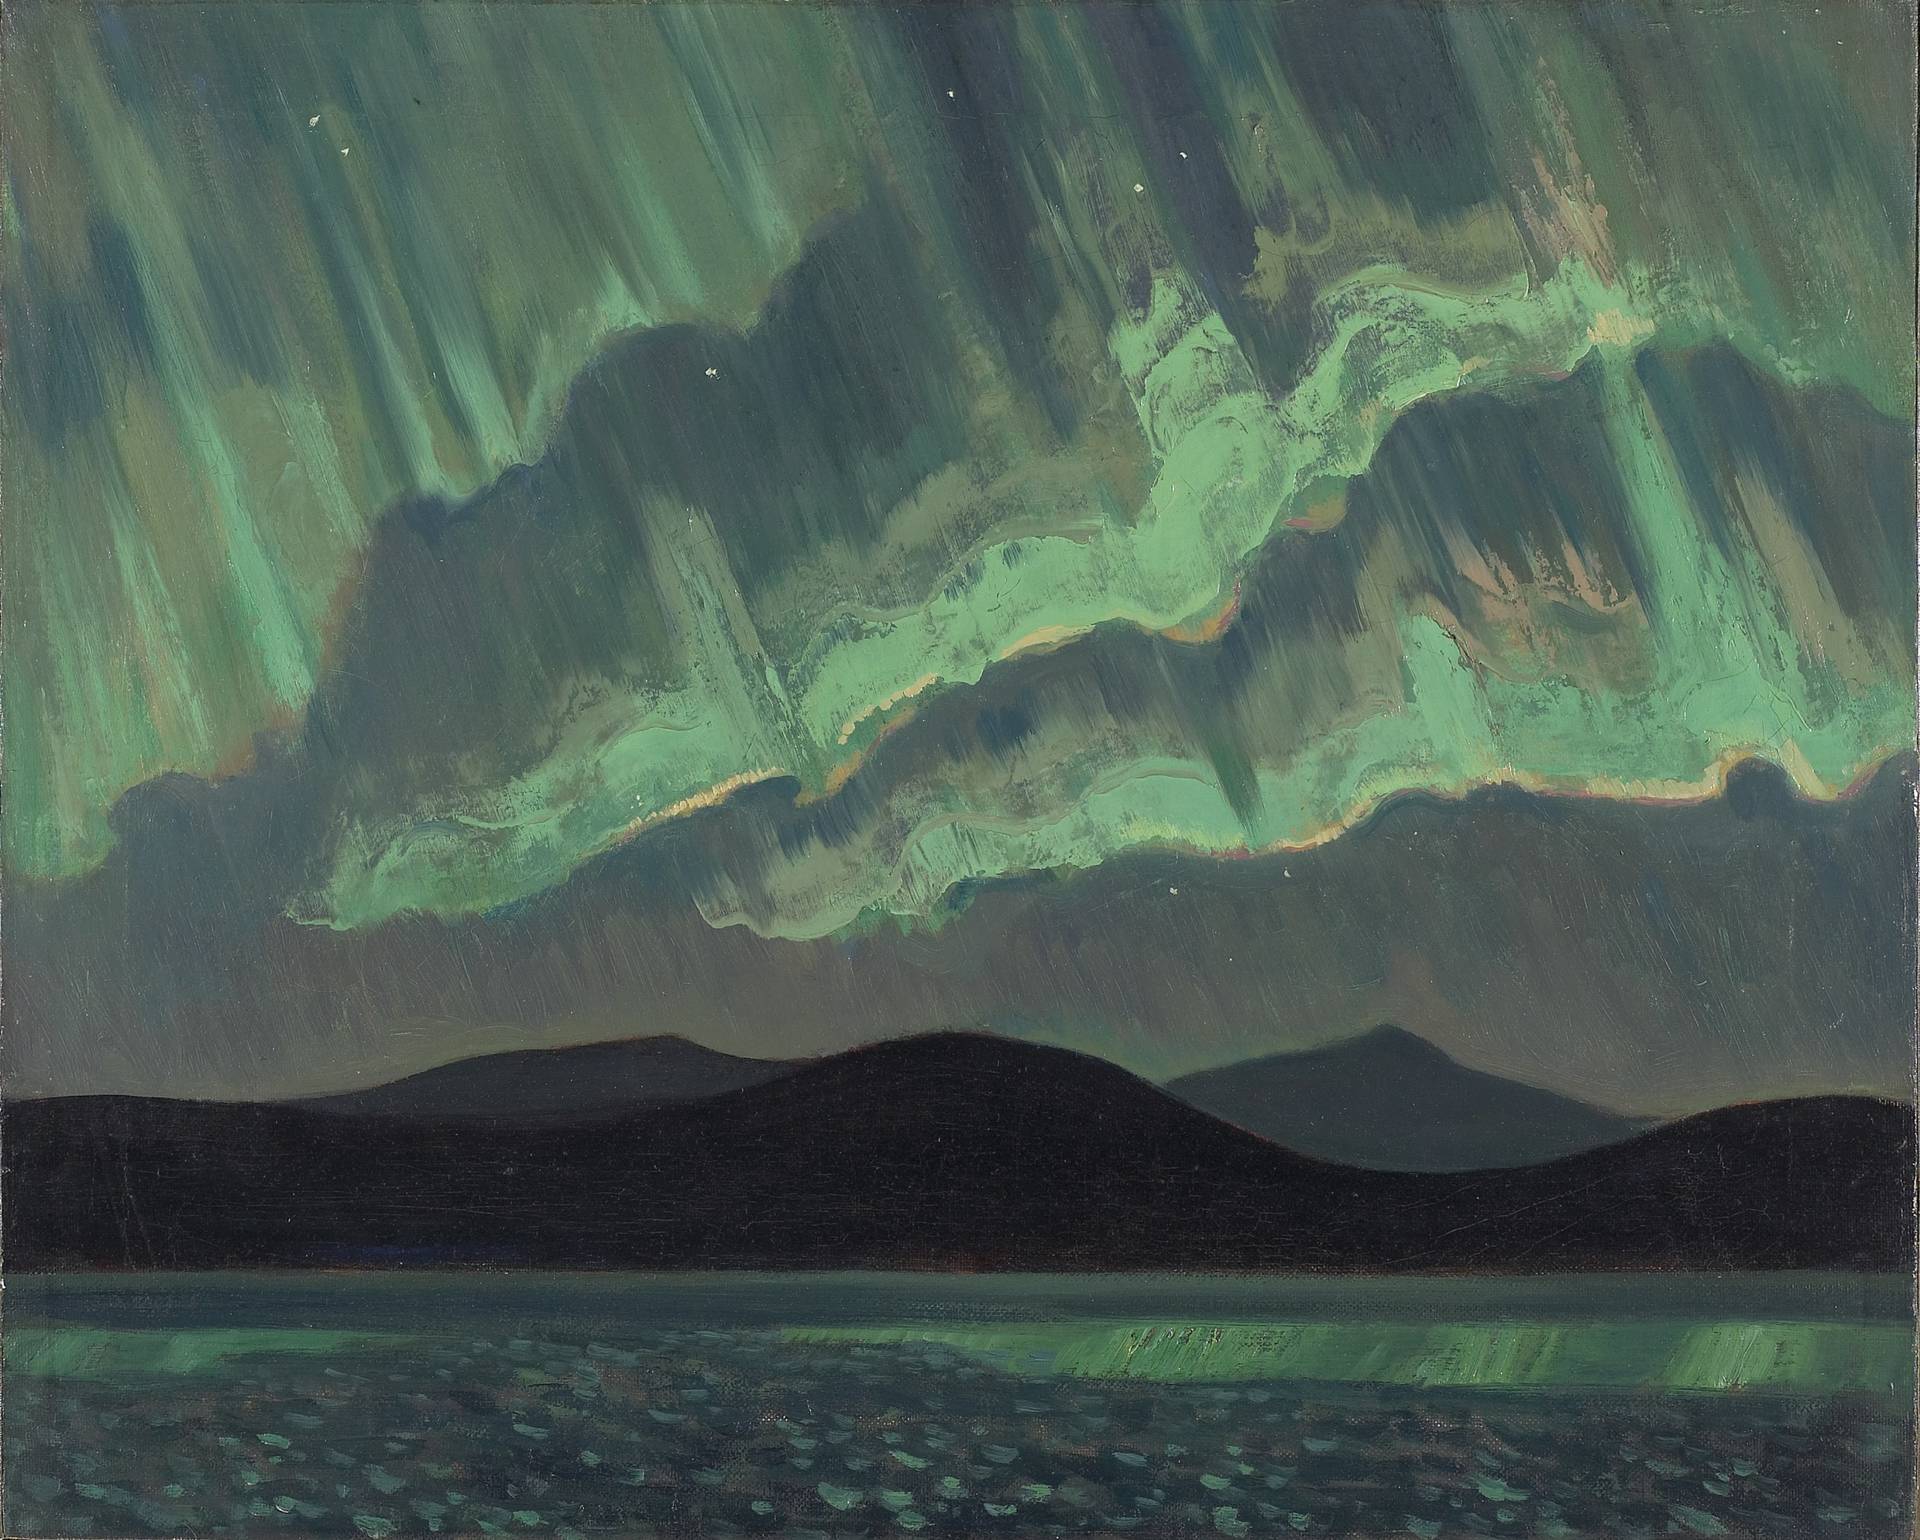
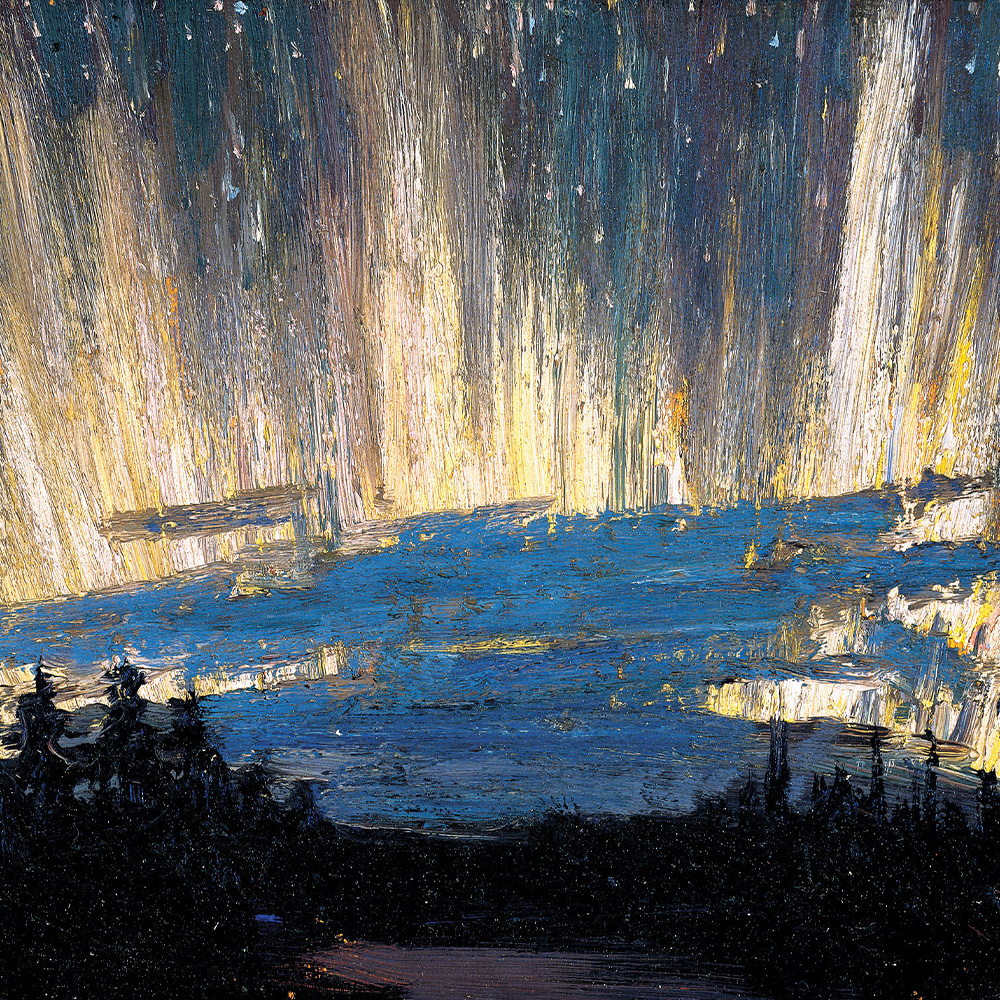
Tom Thomson made his sketches on small wooden boards directly in nature. In the sketch "Northern Lights" he captures the impressive spectacle with fleeting brushstrokes. Individual treetops of a dark forest on purple ground jut into the vast deep blue sky. A radiance of light in white, light yellow and pink colors illuminates the night sky and takes up almost the entire picture. Behind and above them, Thomson painted dots of color, creating the impression of exploding parts of a great firework display. Spectacular!
WHAT YOU NEED: STURDY PAPER OR GRAY CARDBOARD (MAX. A4), COLOURED AND BLACK WAX CRAYONS, SCRAPER, ALTERNATIVELY WOODEN SKEWER OR LARGE NAIL, NEWSPRINT TO PUT UNDERNEATH
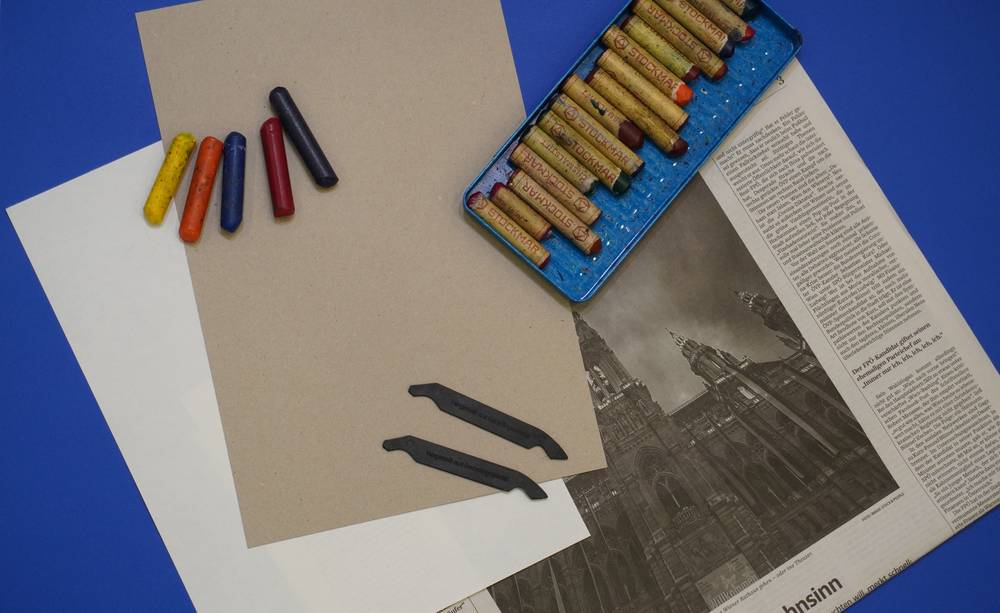
INSTRUCTIONS
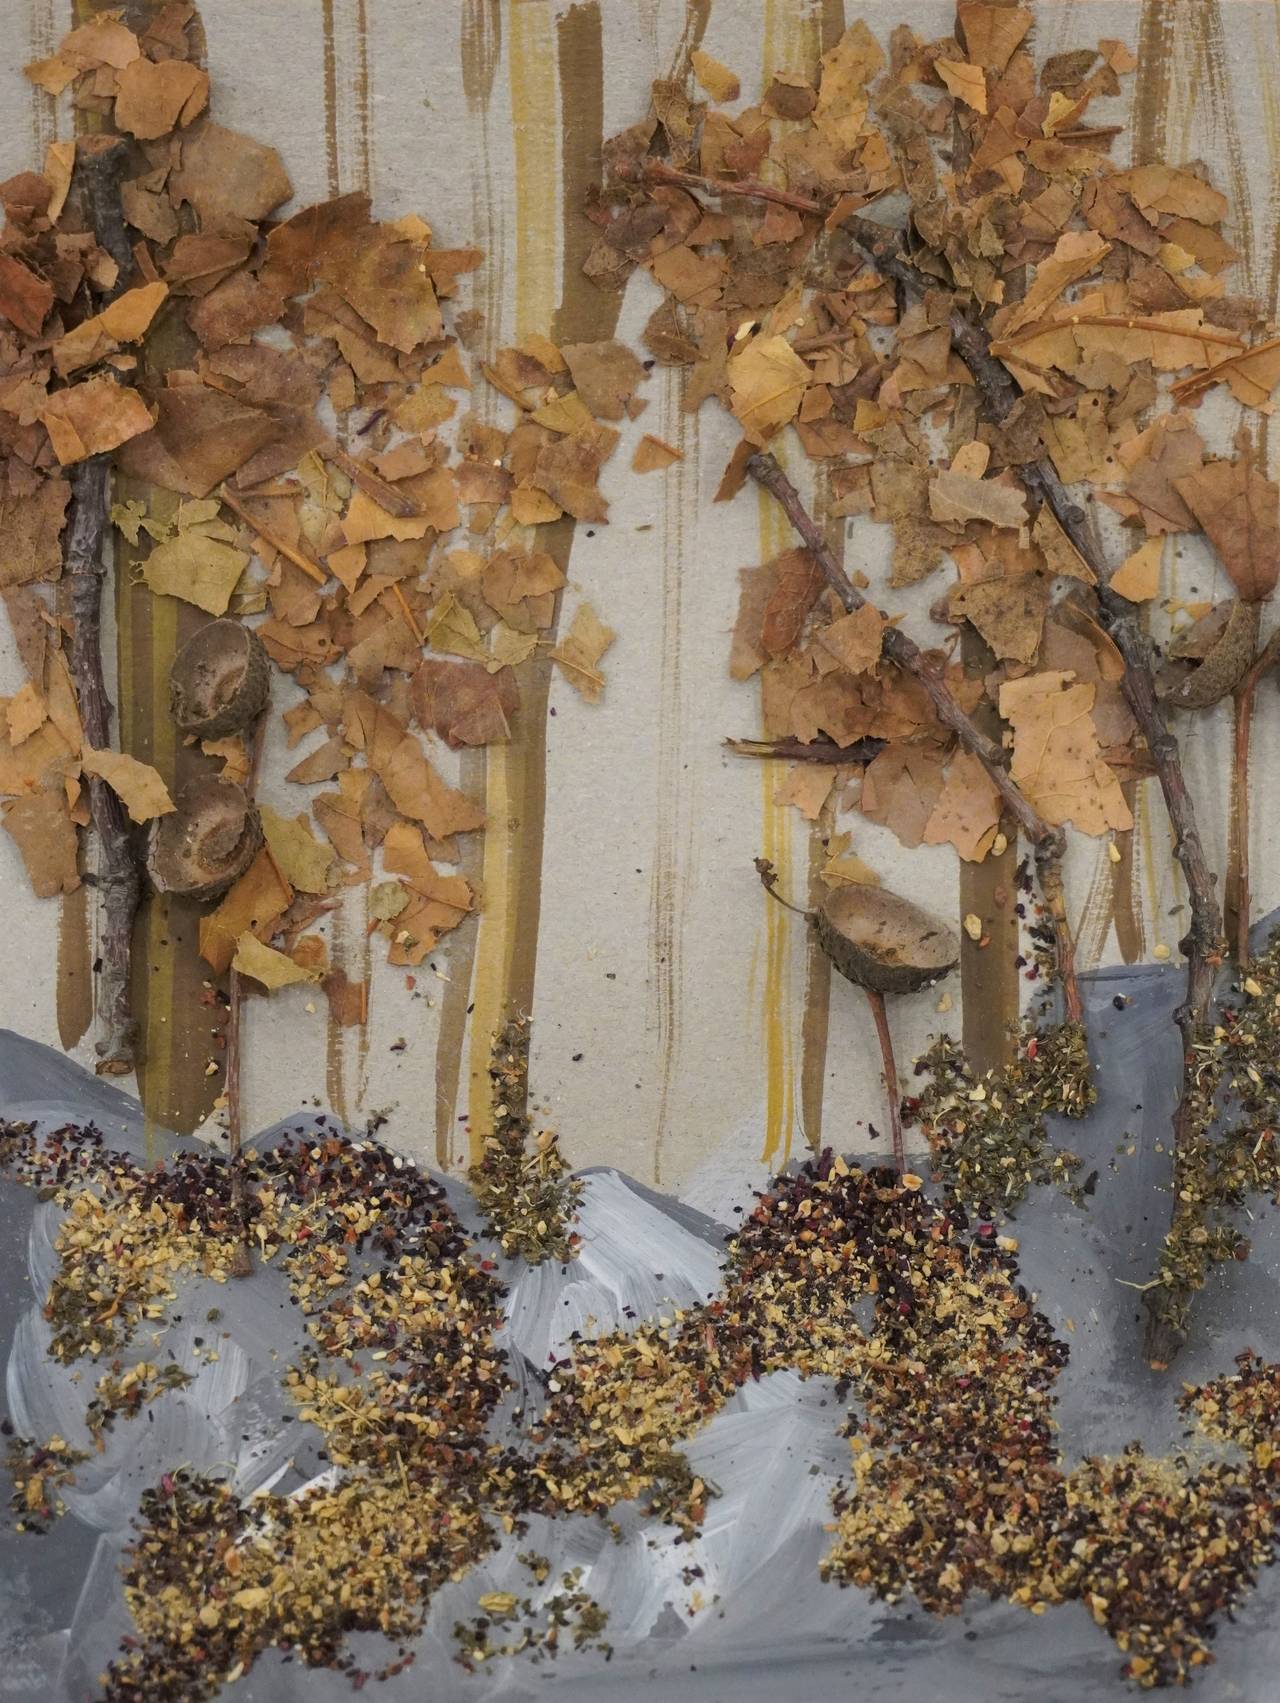
First think about what you want to depict. Should it be a dark sky with explosive auroras like in Tom Thomson's sketch or are the auroras more like a curtain across your night sky? And what else can you see at the bottom of the picture - forests, mountains or lakes?
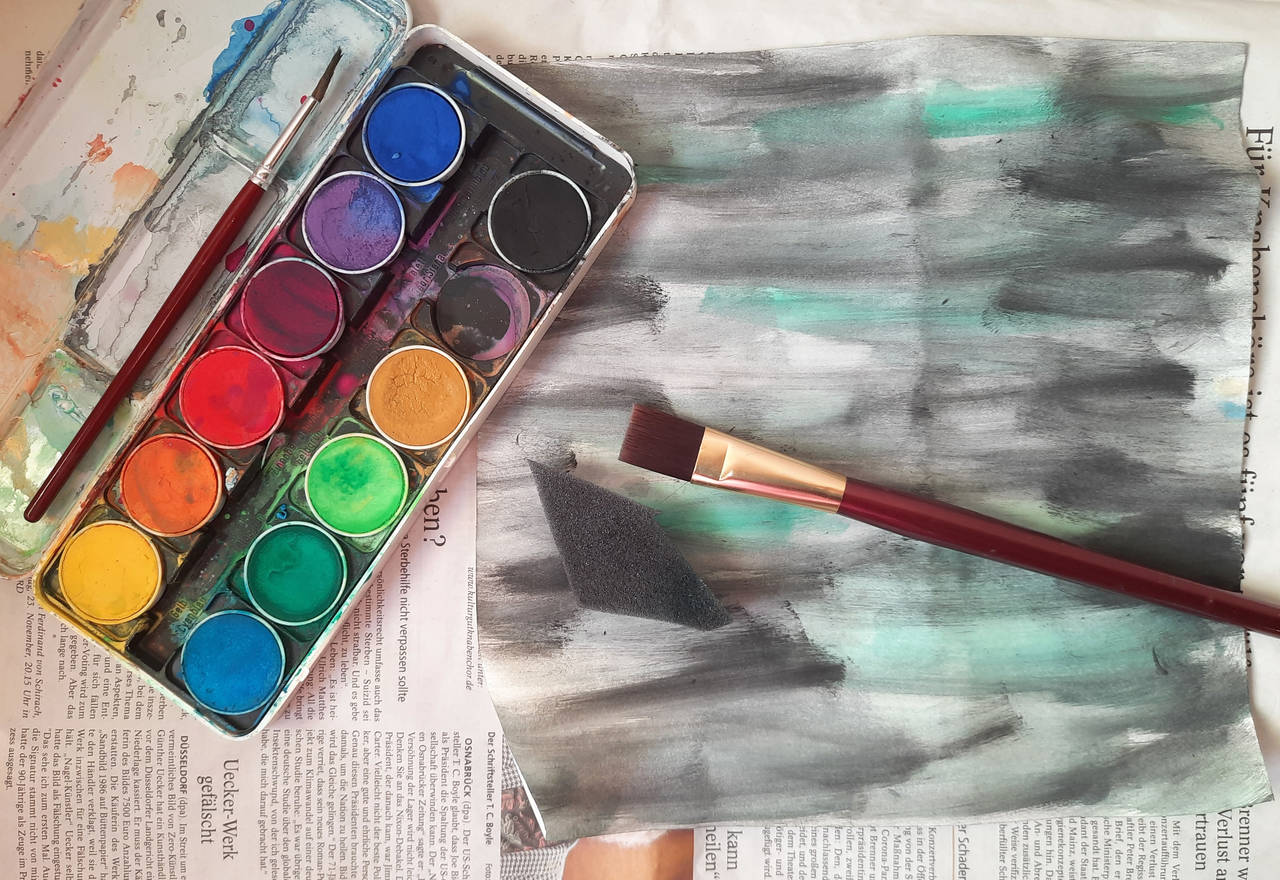
Choose a format, portrait or landscape, and then design the different colored areas on your sheet of paper or gray board. Place the newsprint underneath and work over the edge until the background is no longer visible. Everything must be covered with wax for the scratching technique to work well. Place the strokes close together and on top of each other, you can also vary the direction of the strokes. As soon as everything is colored, cover the entire surface with the black wax crayon.

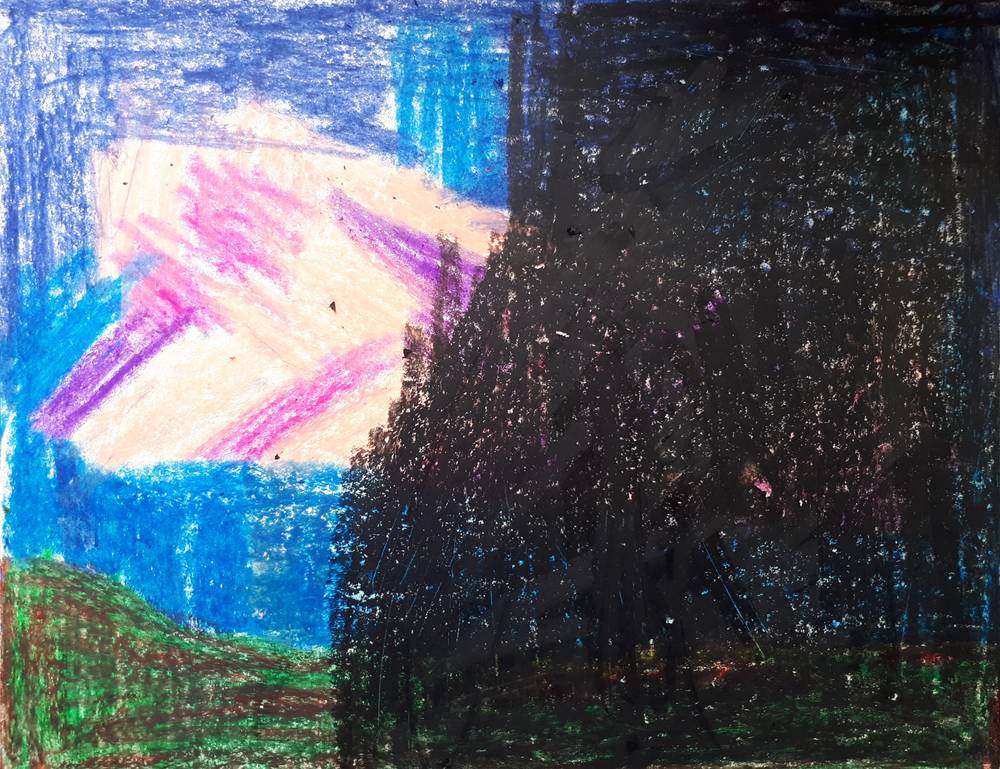
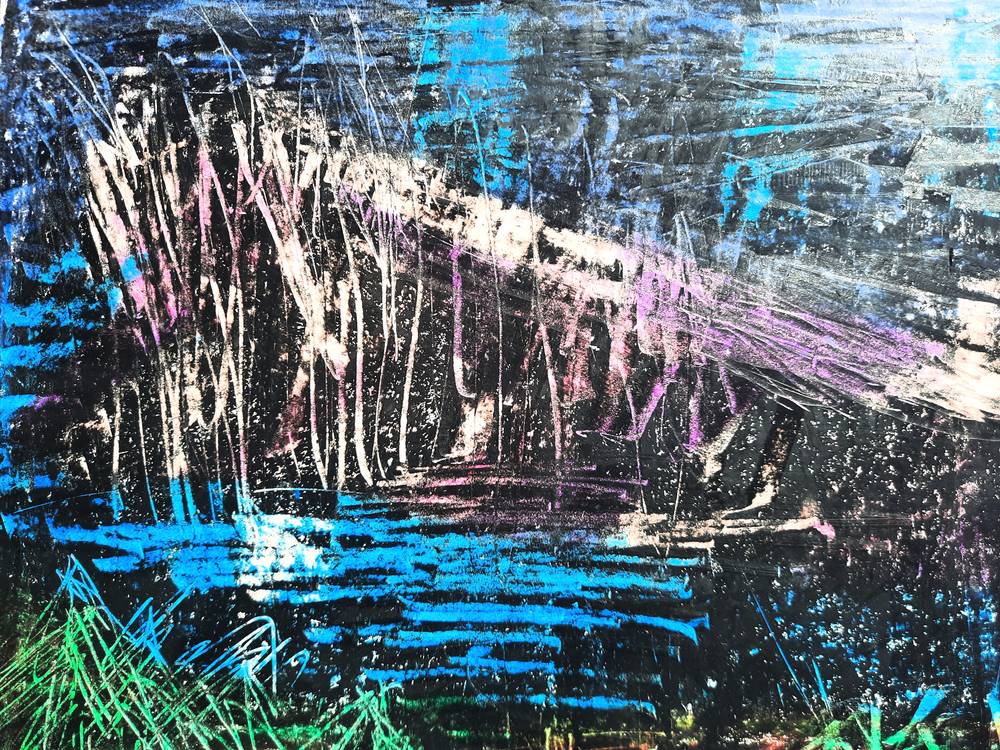
Use the scraper, a wooden skewer or a large nail to create your scratch pattern. A scraper has narrow and wider points, so you can scrape fine lines or larger areas. Draw or sketch with the scraper, pushing away the black layer to reveal your design. Remove the wax crumbs and voilà, your scratch painting is ready!
TIPPS
- If you have scratched away too much in one place, you can cover over it again with the black wax crayon and start again.
- Of course, you can also use the scratching technique to create other motifs. Choose the colors for the bottom layer to match your picture idea and then scratch any shapes out of the black surface. A snow-covered mountain in front of an ice-blue sky or dark green fir trees by a lake - depict where you feel most at home in your scratched landscape painting!